💡 Background Information By default, when you install an operating system, the system creates an EFI partition at a specific location on the disk. UEFI/BIOS utilizes this partition to correctly boot the system. However, if you install another operating system (such as Windows) on the same disk, the new installer may overwrite the existing EFI partition, thereby preventing the previous operating system from booting. This is exactly the situation I encountered—Windows had overwritten my Linux bootloader.
1. Preparations Before Repair
At the time, I didn’t have any ready-made Linux installation media on hand. Consequently, I downloaded the ISO image file for my specific Linux distribution from its official website and wrote it to a USB flash drive. Subsequently, I entered the UEFI/BIOS settings interface, disabled the “Secure Boot” and “Fast Boot” features, saved the settings, and restarted the computer; ultimately, I successfully booted into the Live environment using the USB flash drive.
💡 If you are using a multi-boot tool like Ventoy and encounter a freeze while in the standard boot mode, you might want to try switching to the GRUB boot mode.
2. Mounting Partitions
Once inside the Live environment, I used the lsblk and fdisk -l commands to inspect the disk partitions. This allowed me to identify which partition was my Linux system’s Root Partition and which was the EFI partition (typically ranging in size from 100 to 500 MB, with a file system type of vfat). The image below illustrates the disk partition layout as viewed in DiskGenius:
Next, I mounted these partitions:
mount /dev/nvme0n1p5 /mnt           # Mount the root partition (please adjust according to your actual configuration)
mount /dev/nvme0n1p1 /mnt/boot/efi  # Mount the EFI partition
mount --bind /dev /mnt/dev
mount --bind /proc /mnt/proc
mount --bind /sys /mnt/sys
mount --bind /run /mnt/run
(I did not have separate /home or /boot partitions, so I skipped them. However, after encountering this boot failure again later—particularly after performing a step-by-step manual installation of Arch Linux—I gained a deeper understanding of this process. In reality, within Arch Linux, you do not need to manually mount so many directories; essential directories such as /dev, /proc, /sys, and /run are automatically mounted for you by the system.)
3. Chroot and GRUB Repair
arch-chroot /mnt   # Since I am using Arch Linux, I use this command
# Verify boot mode
[ -d /sys/firmware/efi ] && echo "UEFI" || echo "BIOS"   # Output: UEFI
# Reinstall GRUB
grub-install --target=x86_64-efi --efi-directory=/boot/efi --bootloader-id=GRUB
# Generate configuration file
grub-mkconfig -o /boot/grub/grub.cfg
Exit the chroot environment and reboot:
exit
reboot
4. Issues Encountered After Repair
After rebooting, I did not boot directly into the Linux system; instead, I encountered two common issues.
Issue 1: Only the GRUB Shell Appears
The screen displayed only the grub> prompt, and the boot menu did not appear.
Solution: Regenerate the GRUB configuration file. I re-entered the Live environment, mounted the partitions, performed a chroot operation, and then executed the command grub-mkconfig -o /boot/grub/grub.cfg.
Problem 2: Only Windows Boot Manager Appears After Fixing Problem 1
After rebooting, the system booted directly into Windows; the Linux boot options were completely missing.
Cause: The Linux kernel files (specifically vmlinuz-linux and the initramfs image) were missing from the /boot directory.
Solution: While in the Live environment, after mounting the partitions, I inspected the /boot and /boot/efi directories. It turned out that the kernel files were actually located within the /boot/efi directory. Consequently, I copied these files to the /boot directory, then used chroot to re-enter the system environment and ran the grub-mkconfig command once more.
cp /mnt/boot/efi/vmlinuz-linux /mnt/boot/
cp /mnt/boot/efi/initramfs-linux.img /mnt/boot/
# Re-enter the system environment via chroot and run grub-mkconfig
After completing these two steps, the GRUB boot menu finally displayed boot entries for both Linux and Windows.
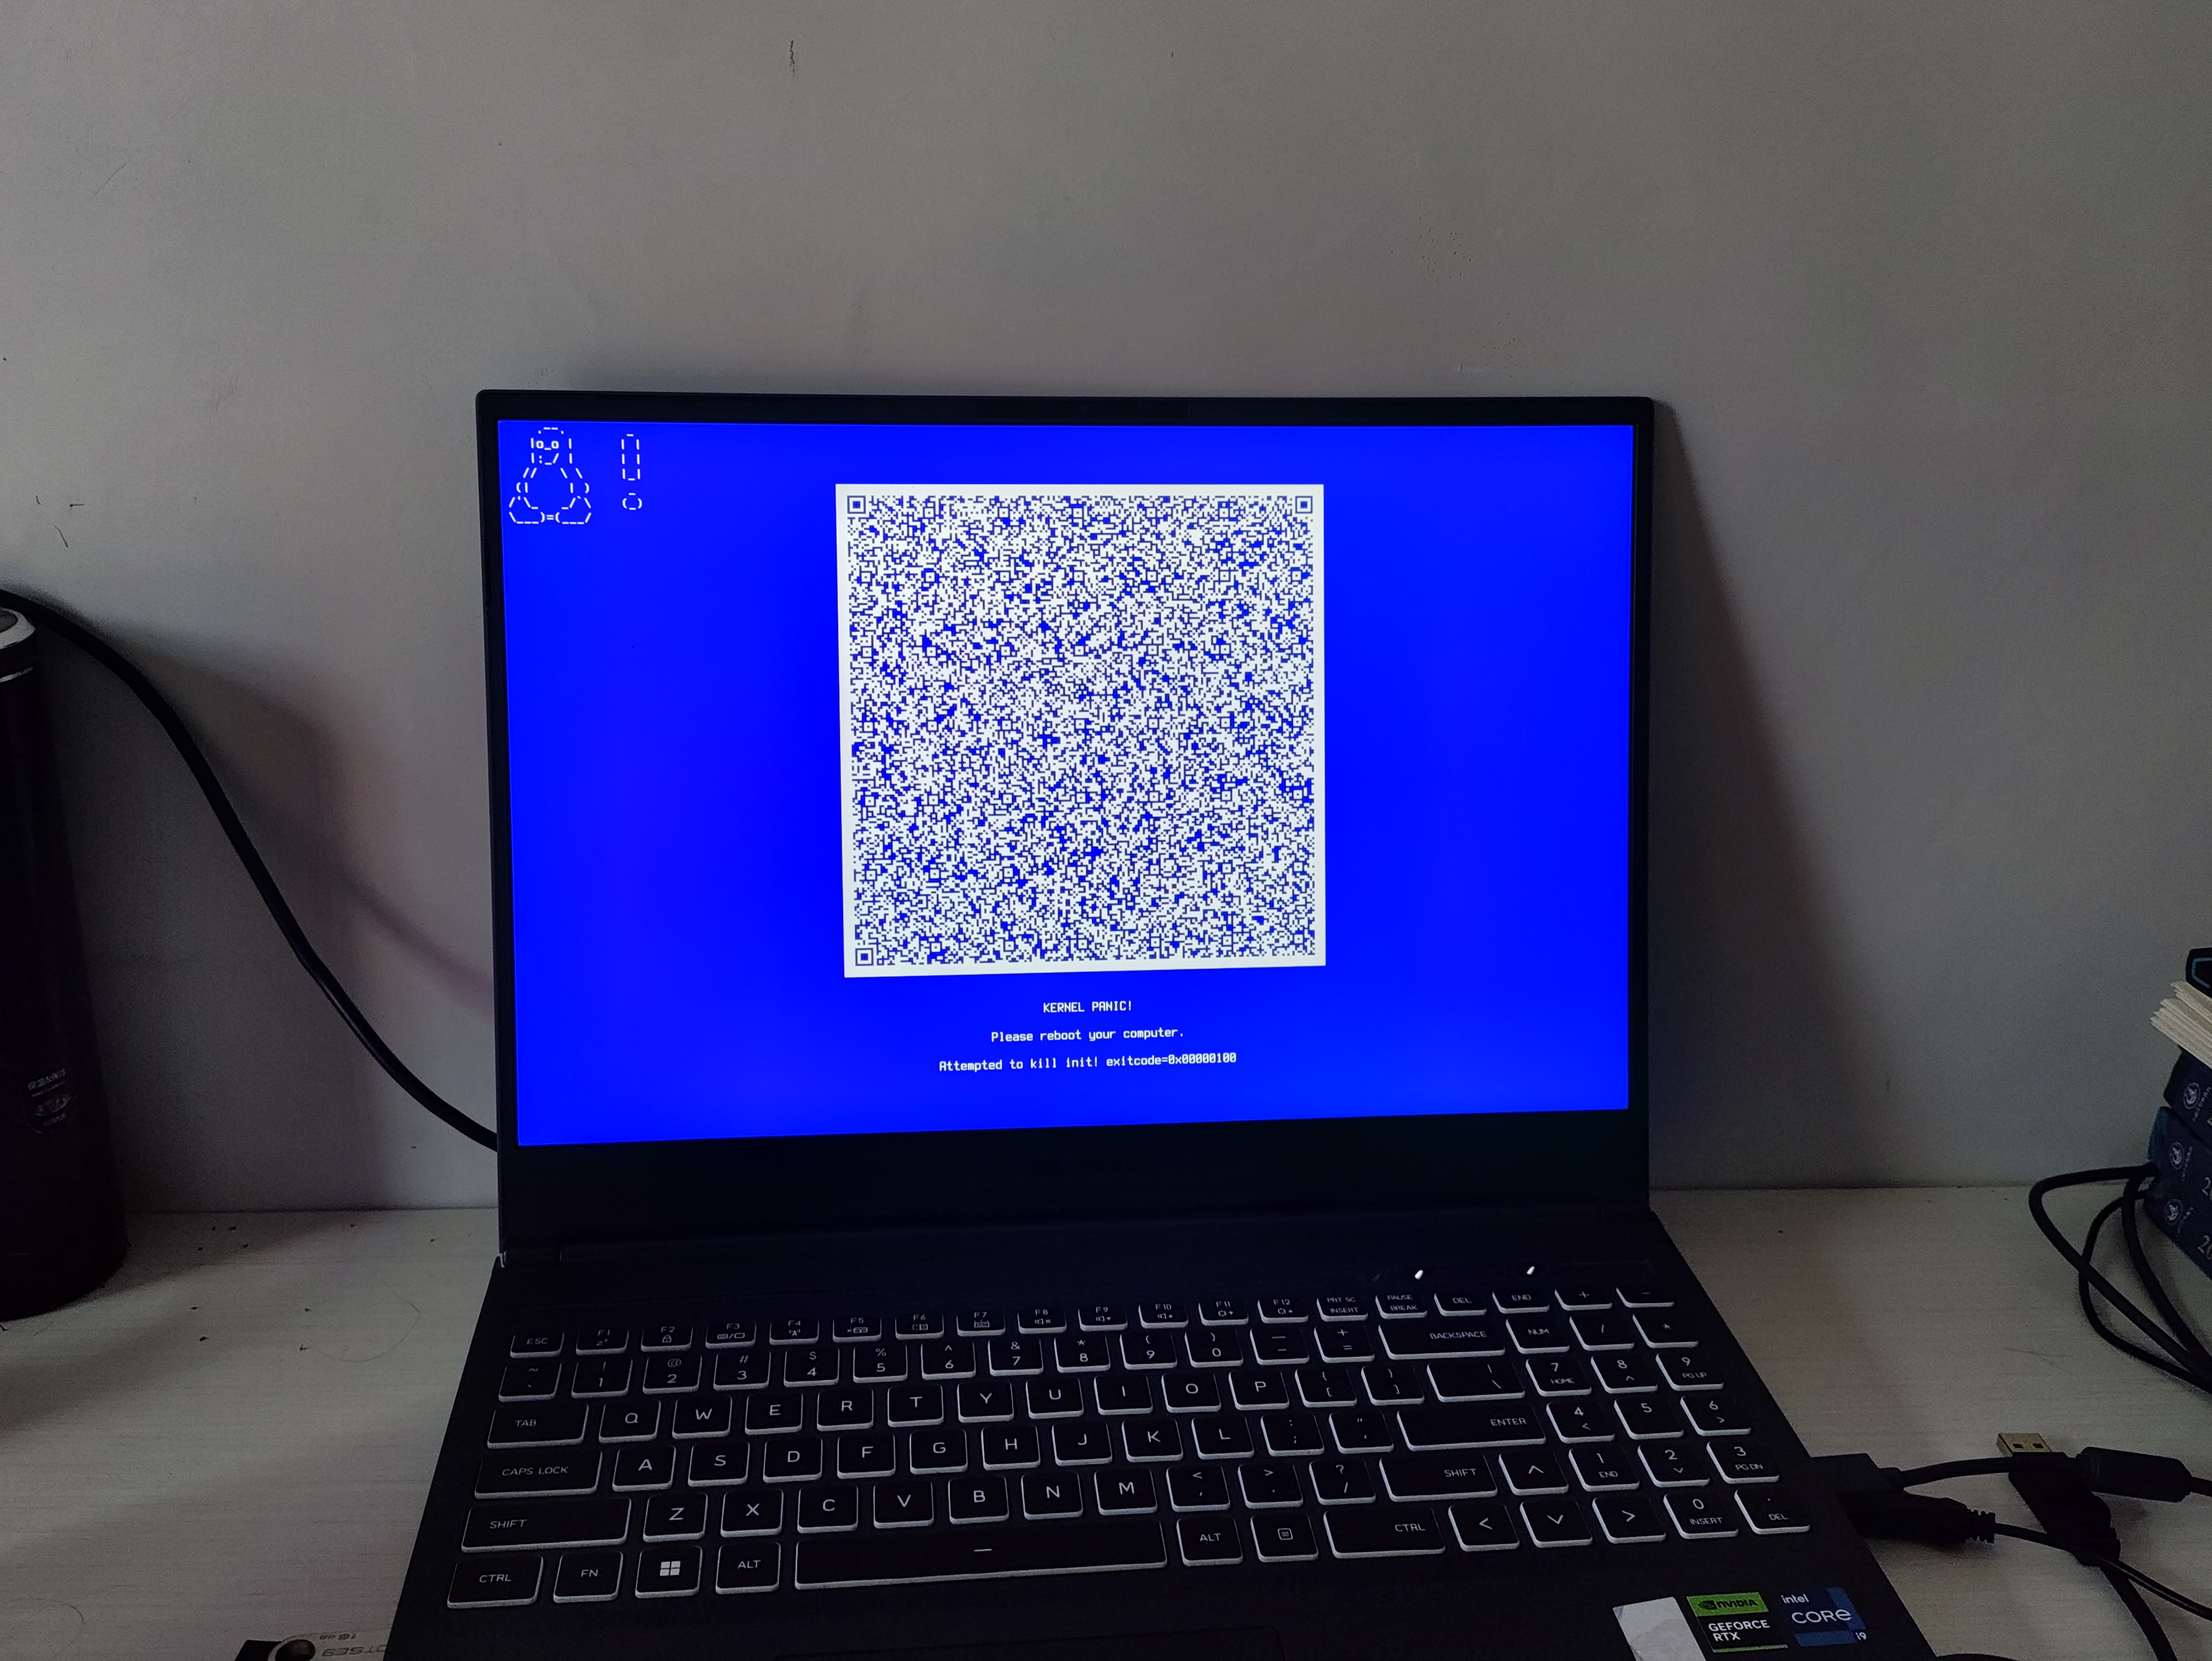
5. The Final Kernel Crash (Featuring an Automatic QR Code Repair Feature)
Eager to proceed, I selected the Linux boot option, but an error message immediately popped up on the screen, as shown in the image below. Prominently displayed in the center of the screen was a QR code.
I then pressed the Enter key to reboot. This time, Linux booted successfully, and I was able to smoothly enter the desktop environment!
In retrospect, I surmised that the QR code was likely part of an error reporting or automatic repair mechanism built into the specific Linux distribution I was using (or perhaps systemd). Once the countdown expired (or after I pressed Enter), the system attempted an emergency recovery operation and successfully resolved the issues related to the kernel or initramfs. Regardless, this mechanism spared me the tedious process of manually troubleshooting the problem. ## 6. Conclusion
From Windows overwriting the bootloader, to entering the GRUB Shell, to missing kernel files, and finally encountering a kernel crash—complete with an accompanying QR code for automatic repair—the entire process was truly a rollercoaster ride. However, by methodically following the standard troubleshooting steps, I was ultimately able to resolve every issue. If you happen to encounter similar problems, I hope my experience here serves as a useful reference for you.